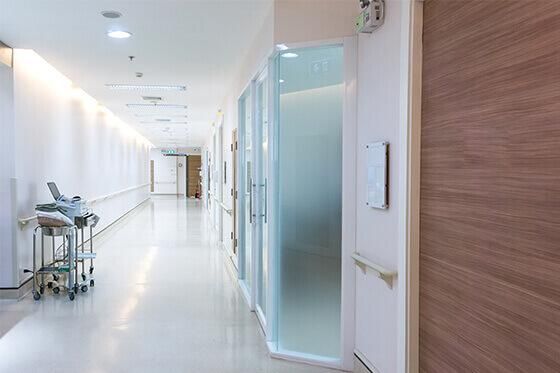
Post-renovation cleaning: a complete step-by-step guide
Construction dust gets absolutely everywhere and keeps coming back for days after the work is done. We show how to tackle it systematically.
After a renovation or painting, fine dust remains on every surface – even where you wouldn't expect it. Without the right approach you only stir it up and it settles again. Here is a proven plan.
1. Top to bottom, roughly first
Start from ceilings and lights, continue to shelves and furniture and finish with the floor. Gravity is your helper – whatever falls, you collect last.
2. Dry dust collection, not smearing
Fine construction dust must not simply be spread with a wet cloth. First we capture it with a HEPA-filter vacuum, only then clean with moisture.
3. Windows, frames and sills
Glass holds residues of paint, adhesive and silicone. We remove them without scratching and polish the windows to a final shine.
4. Floors and details
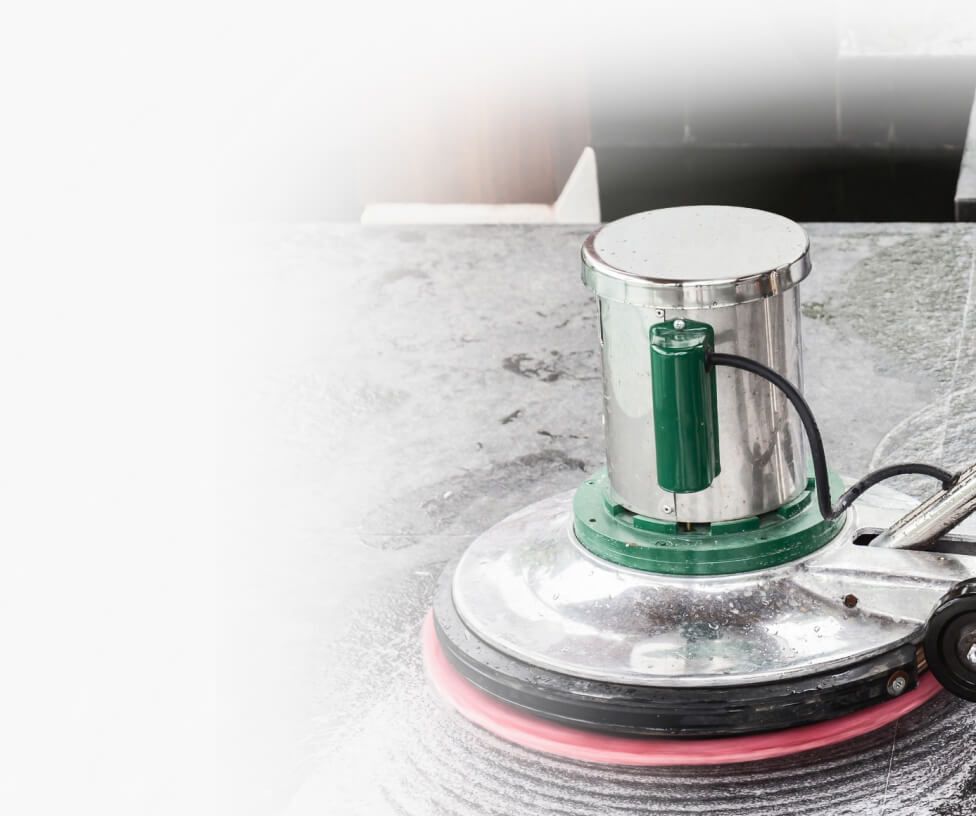
Next comes washing floors, tiles, handles and switches. It's the details that decide whether the space really feels "like new".
Why entrust it to professionals
We have equipment for fine dust and the experience of where it hides. For one-off post-renovation cleaning we often start within 48 hours and hand over the space ready to move in.
Need post-renovation cleaning?
Removal of construction dust and dirt after painting and renovation. We reply within 24 hours with a no-obligation tailored quote.